My Blog List

Thursday, January 19, 2012

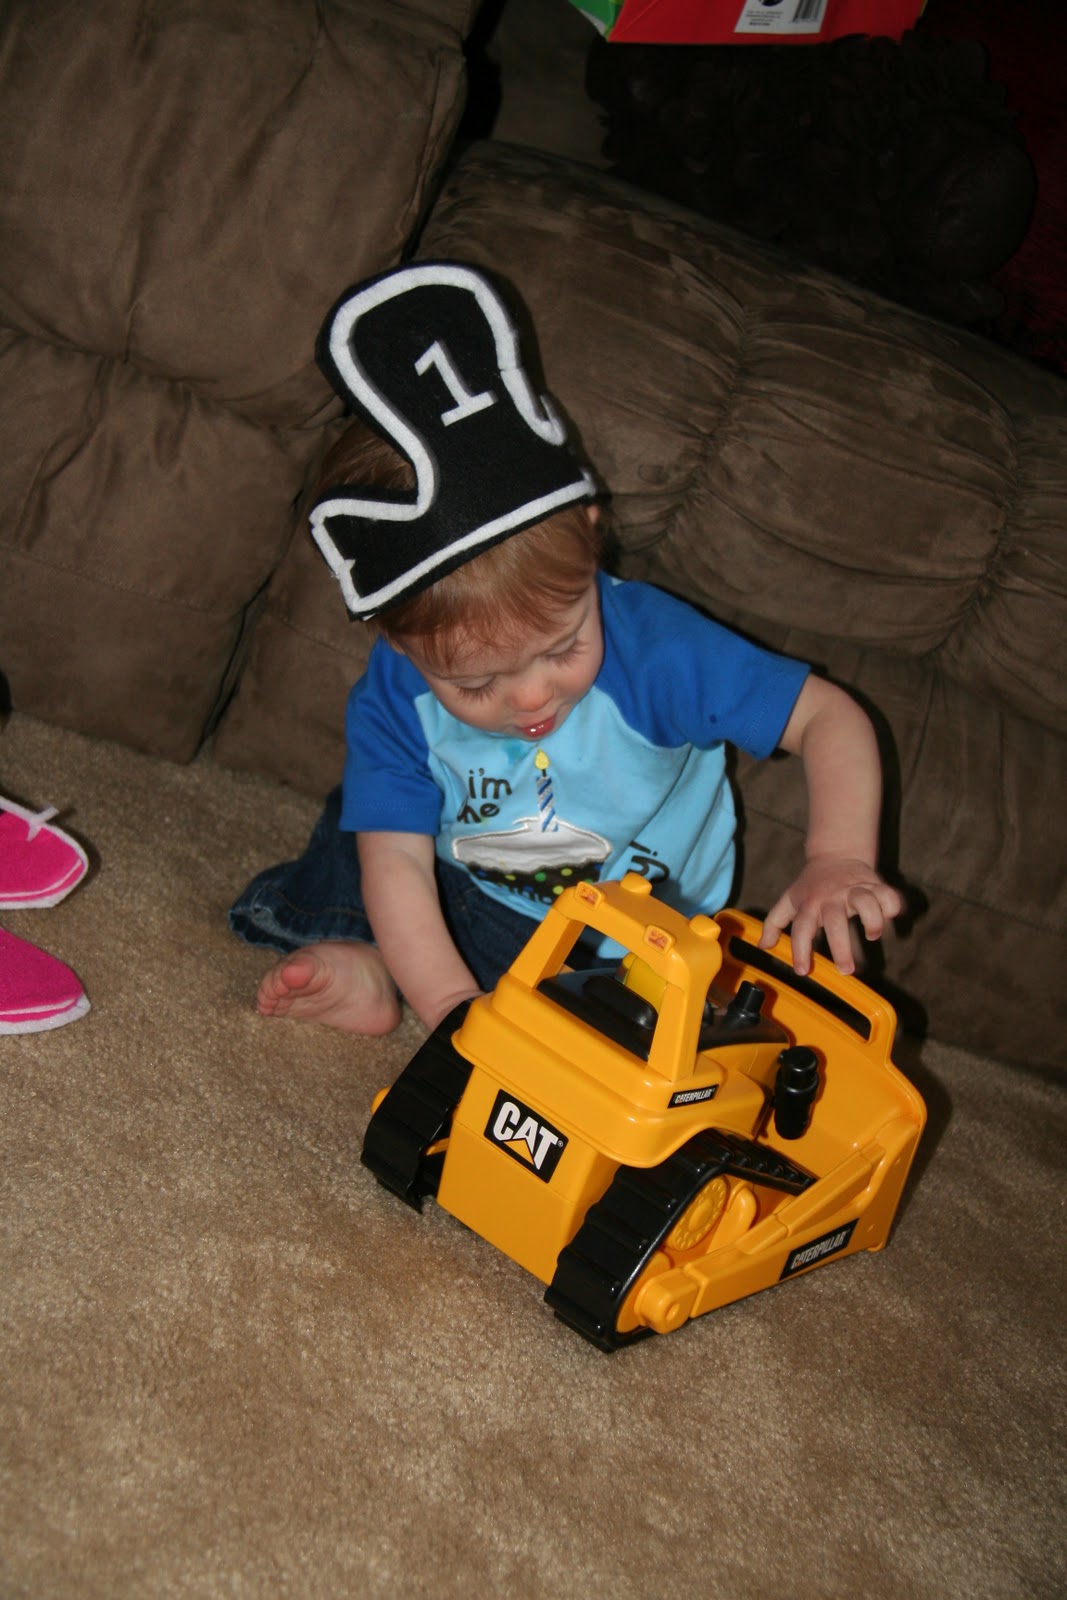
A pirate's life for me

Welcome! To Connor's first birthday party! 

We kept it fairly simple, but I was really happy with what we came up with...


Saturday, December 17, 2011

hair pretty from a present bow

Received this present bow on a gift for my daughter, and reused it once on another gift for her, then I made it into a hair clip that we cliped onto a present for another little girl.  And the bow lives on.

Glue felt circle to bow, then hot glue the clip to the felt circle


fun applique projects...


I had made an owl silloutte too, however, I forgot to take a picture...

Sunday, December 4, 2011

Owl Baby Shower


party favors


Wish I had taken more close up pictures... Especially of the banner, all of the letters were held on by magnets, so that the name of the baby can be added when it is announced. Paper lanterns were white originally, painted with two coats of acrylic paint, then felt was hot glued on.  Paper and die cutters, and stamps for the party favors and banner are stampin' up! products.  They can be ordered from http://www.stampinup.net/esuite/home/sarahowens/ my friends personal website.  Check out her clearance rack!

Monday, November 21, 2011

An apron from a men's dress shirt

What is that saying? "Necessity is the mother of invention"?

A while back, I bought several men’s dress shirts with the idea that I would turn them into shirt dresses for my kids.  Didn’t happen.  But that was to my benefit this time, as I really needed an apron for my craft fair that I had signed up for to promote my business. Here’s what I came up with for my aprons.  It was fairly simple, just seam rip carefully.

They would have turned out even better, if I had a surger.  But as I am currently borrowing a machine, I do not. 


I have no step by step pictures, but, I can give you a basic run down.

Remove sleeves, being careful not to make holes as you do so. Remove the cuffs, and open up sleeves by taking out the stitching up the arm.  Lay one on top of the other until you like the length and shape you get (buttons on cuff should be up by the waist line.)  Remove back.  Cut back into strips for the tie backs and waist band.  Waist band can be made out of another fabric like I did with this one.  Gather shoulders, tuck each neatly under the collar, sew in place.  Pin skirt (sleeves) to the halter you’ve created sew in place, cover messy area you’ve created with band and tie backs.  Ta da.  Over simplified maybe, but you get the general idea.
Make a fabric flower, I used the cuff for leaves.

shirts for my kids.

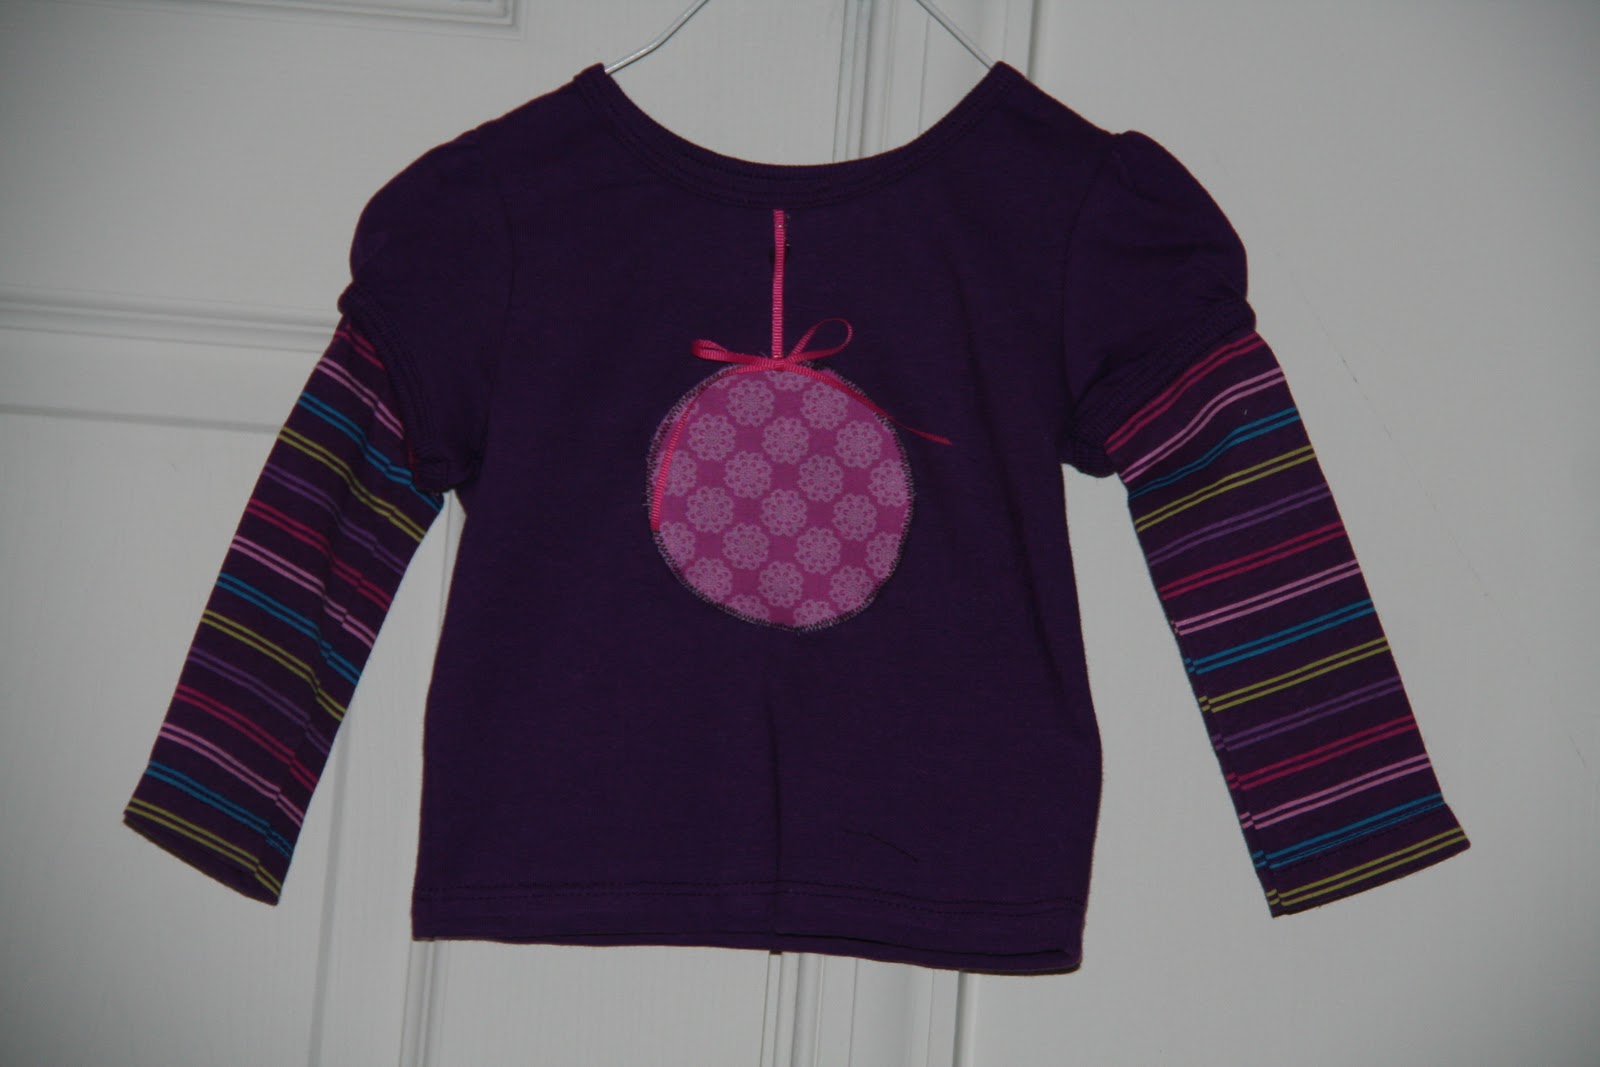
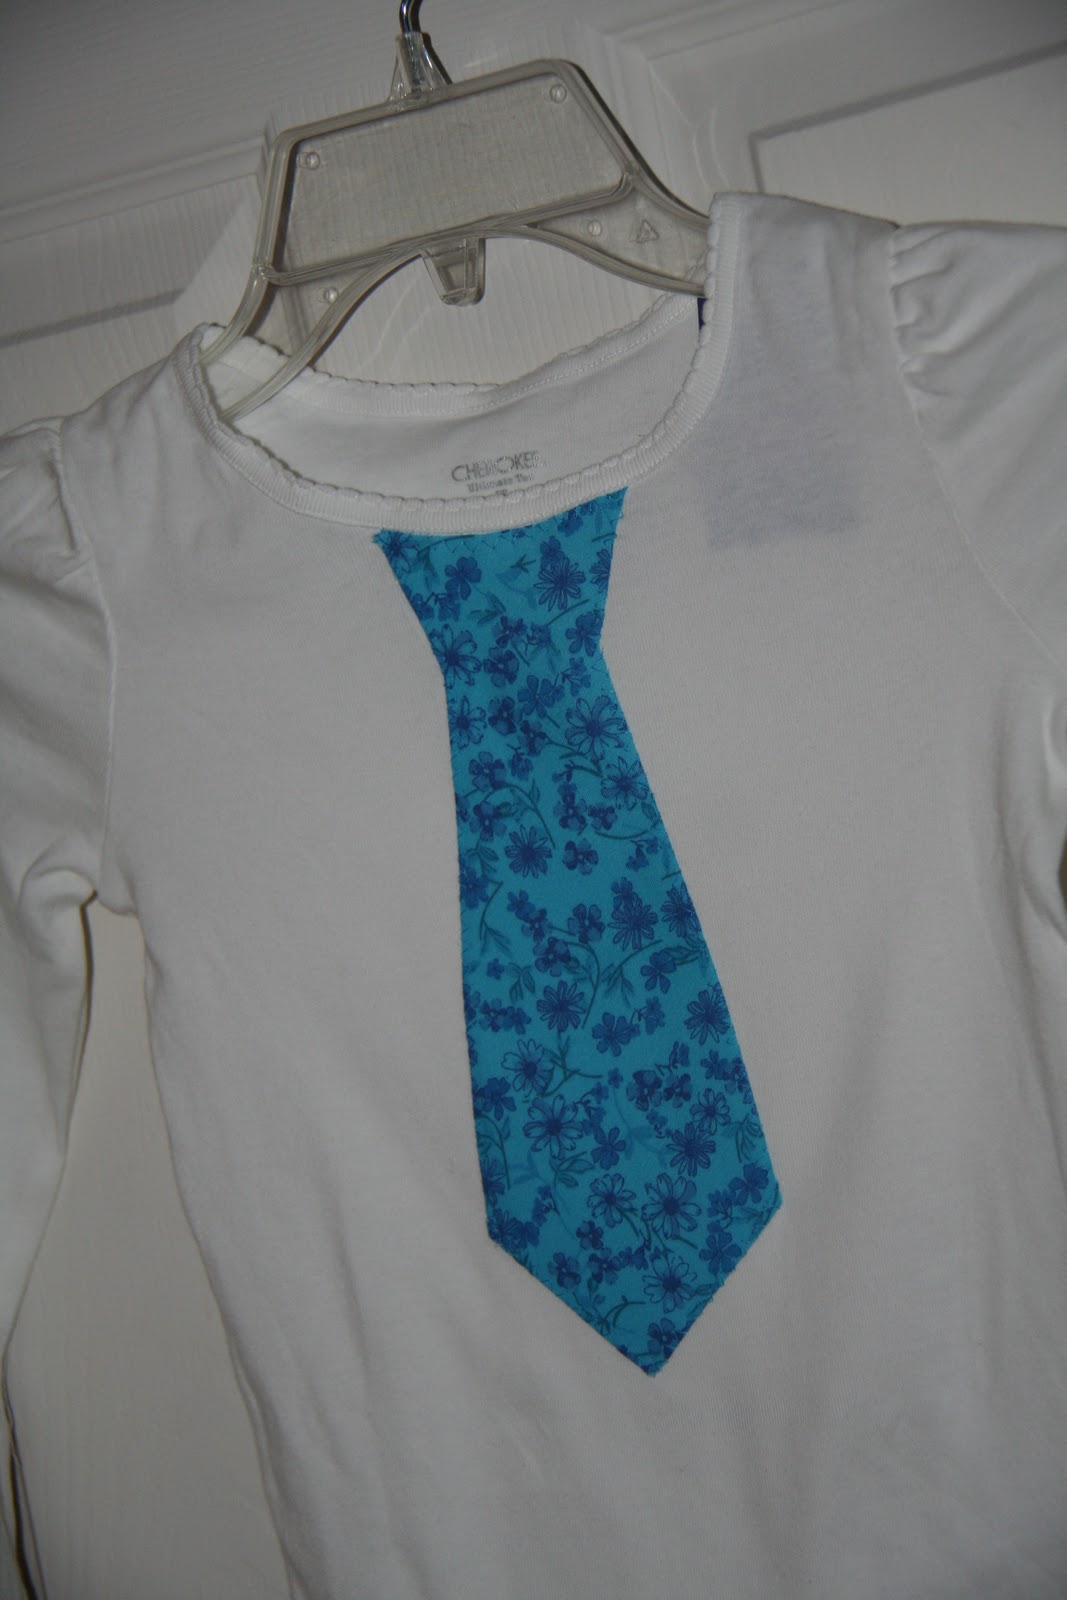
I bought a shirt for Victoria last weekend, loved it.  But at $10 a pop, I didn't think that I could keep up with my wants for all of the holidays.  So... I figured it out, and made my grandma proud.  Or at least she'd probably scold me if she knew that I hadn't just made the first one anyway.  To be fair. I bought two.  Anyway, here's what I made.